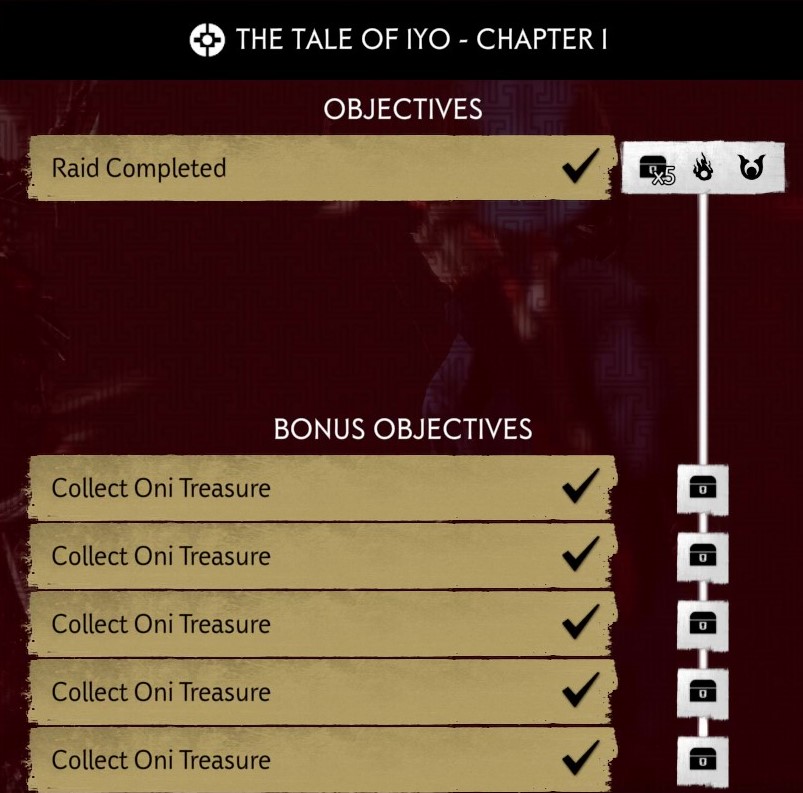
Tale of Iyo: Chapter 1 – Filling the Blood Well
The second timed encounter of the raid will have players collect souls to bring to a well to open the door to the next area.
Clear Out the Town
Players will need to kill all the enemies in the town before starting the encounter. This will give new players the opportunity to familiarize themselves with the area.
In fact, the Survival map, Twilight and Ashes, is a direct copy of this area except for the buildings are removed on each hold point in survival and there are many Eyes of Iyo scattered throughout.
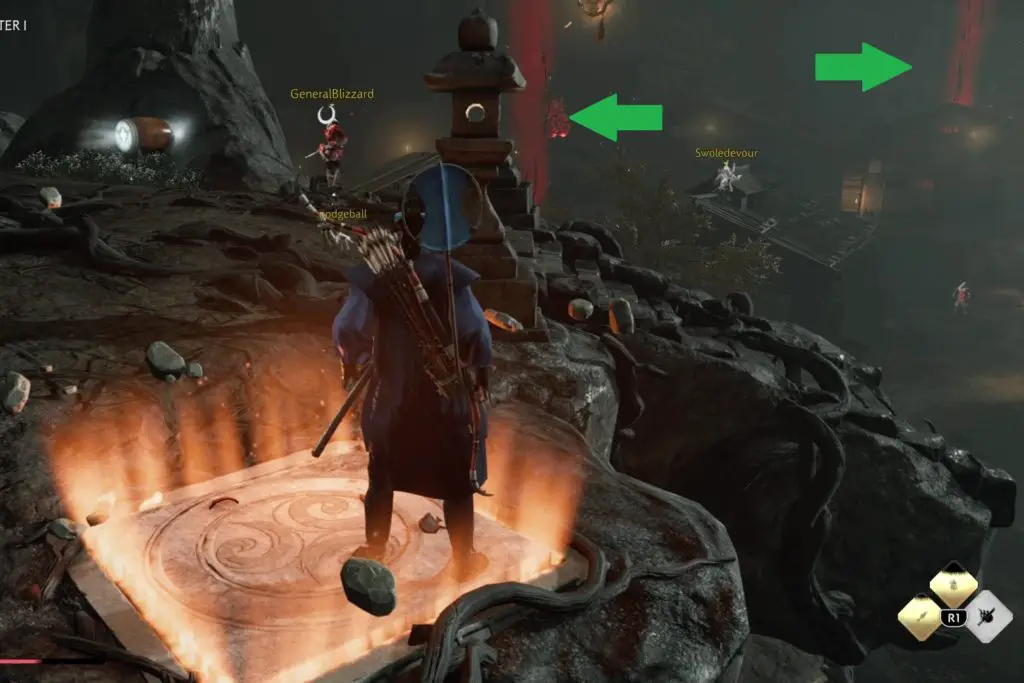
After all enemies are cleared, players will be instructed to gather at the Soul Well located at the top of the hill. The timed encounter will start once all players are at the Soul Well.
Gather Souls to Open the Door
Players will complete the encounter when they open the door by gathering and bringing enough souls to the Soul Well.
Things to know about gathering souls
- Souls are gathered by killing Disciples of Iyo located in the buildings throughout the map
- Disciples of Iyo can be found by their red and black beam going into the sky
- Disciples of Iyo have 1 HP
- After killing a Disciple of Iyo, players must walk over the body to gather the souls
- 1 Disciple of Iyo drops 10 souls. Players can hold a max of 20 souls.
- Souls decay while they are being transported to the blood well.
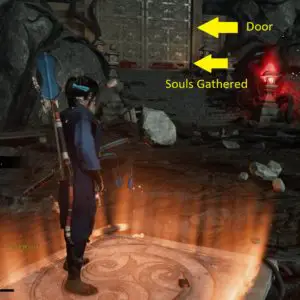
- Players must stand in the blood well to deposit the souls. Souls are deposited one by one until the player no longer has souls.
- Players can see the amount of souls gathered through the rising blood level on the door
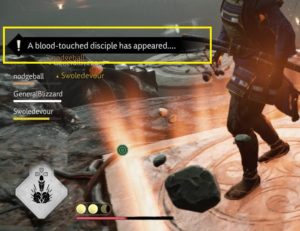
- Players will receive a message on screen notifying them when a Disciple of Iyo spawns
General Blood Well Strategy
Like the other timed section, enemies will spawn indefinitely until the encounter is over. Because of this, it’s generally easiest with having 1 player at the top, preferably a Hunter, and the other 3 gathering souls.
For the 3 soul-gathering players, they can divide the map into 3 parts: left, middle, and right. But they can swap positions as needed if players go down or Disciples of Iyo don’t spawn in their section. Also, players gathering souls shouldn’t need to kill enemies. Instead, they should either run past or use abilities to stun then run past.
Player Staying with the Blood Well
As the player staying at the top your jobs are:
- Kill the enemies that run to the Blood Well to make things easier for the players
- Shoot and free players that are rooted by an Eye of Iyo
- Step on the button to activate the floating platform when needed
Gathering Souls to the Left
Of the 3 players gathering souls, you will generally have the most distance to cover. Take advantage of the grapple hooks to make your runs more time-efficient. Also, kill the farther Disciple of Iyo first if there is more than one up in your section.
Gathering Souls in the Middle
Your section only has one building with 2 spawn points for Disciples of Iyo. The fastest path is through using the floating platform activated by the player on top. Calling out when you need the platform will make your runs quicker.
Gathering Souls to the Right
This section also has 1 building with 2 spawn points for Disciples of Iyo. The fastest path is to grapple hook to the building then return by climbing the path to the right of the building.
Tale of Iyo: Chapter 1 – Unlock the Elemental Attunement Door
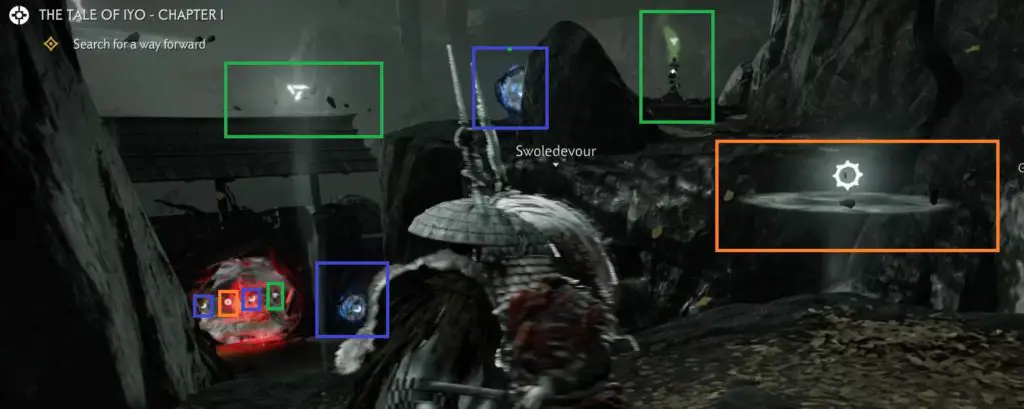
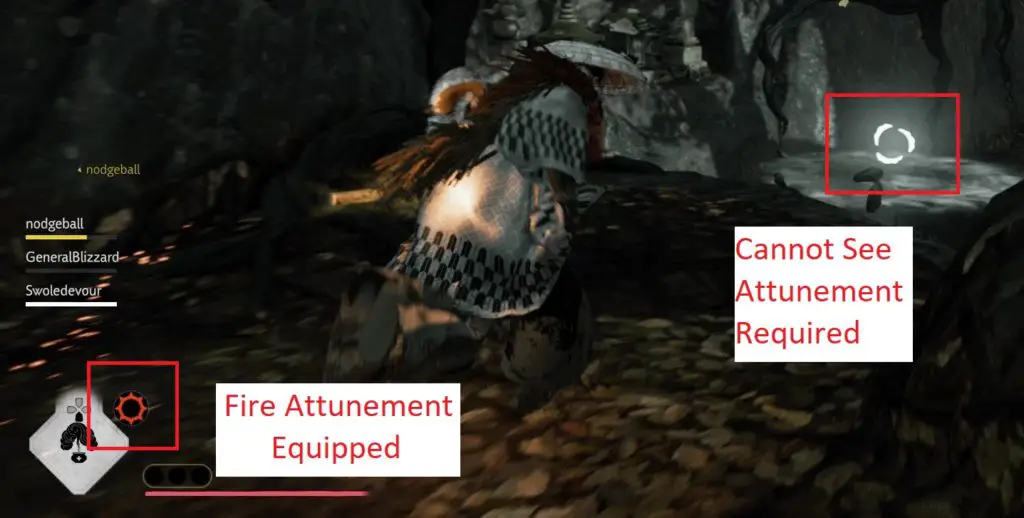
The next section re-introduces the elemental attunements where players will need to infuse their weapon with sun, moon, or storm to use floating platforms and unlock a door.
The new mechanic introduced here is that players with an attunement will no longer see which is required to use a floating platform. Players without attunements will need to communicate or rely on memorization to activate the floating platforms.
Steps to Pass Section
- Clear enemies at the bottom and have the first player attain the sun attunement
- The player with sun attunement jumps on the sun platform first to activate then waits for the other to jump on then off to the next area
- Have a second player attain the storm attunement
- Jump to Storm then Sun platforms.
- Regroup at intermediate rock the jump on Sun platform
- Jump to the next section then jump to platforms: Sun, Storm, Sun
- Arrive at the top
- The storm key for the door is to the right after. Also, there is a crystal key hidden behind the left side of the arch used to get to the 4th Oni Treasure Chest
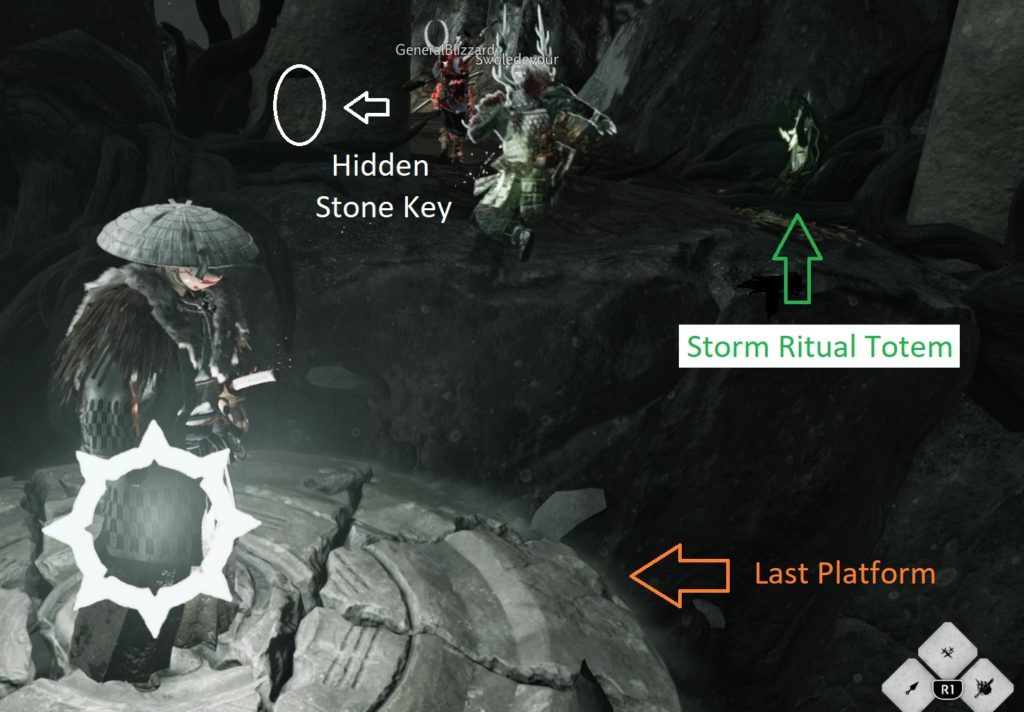
- Have the 3rd player gain the water attunement
- The player with the water attunement will jump to the bottom and sabotage 1 of the 2 ritual totems requiring water
- Have the 4th player gain water attunement
- The remaining players at the top will jump down and sabotage the remaining ritual totems to unlock the door to the final section
Tale of Iyo Chapter 1 Crimson Ridge – Complete Ascension Challenges
After the elemental attunement section, players will cross a narrow bridge that is filled with spirit swordsmen and also has Eyes of Iyo traveling from side to side. Players do not need to kill the spirit swordsmen and can run past. However, the timer for the final section starts once all players get off the bridge.
The final section is a large area that is divided into quadrants, each containing an Ascension challenge:
- Front Left – Zochoten’s Trial
- Back Left – Komokuten’s Trial
- Front Right – Jikokuten’s Trial
- Back Right – Tamonten’s Trial
Each quadrant is connected to the adjacent quadrant with an archway or small path. Within each quadrant are spirit swordsman, an Eye of Iyo and enemy respawn sacs. Enemies that come from the sacs can range from base swordsmen to Oni Brutes to Tengu. Last
Unlike the other timed sections, this last section is a test of player combat skill. Each trial is activated by holding R2 similar to gaining an attunement.
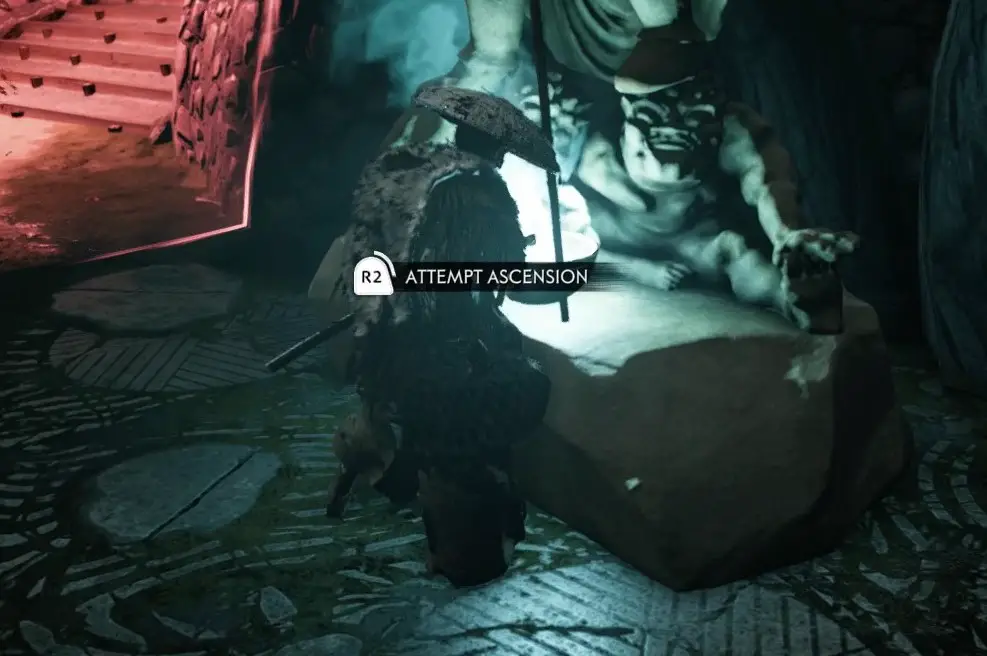
Once activated, the screen will go mostly black and white, notifications will appear for kills required and the burden given, and reduced health.
General Strategy
Players should simultaneously run their trials in order to save time. Before attempting the trial, try to remember the approximate area of spirit swordsmen and if any are near since they hit harder and tend to be more difficult.
It may seem obvious but try not to go down after starting the ascension because any kills gained will be lost. Also, you will need to go back to the shrine to attempt ascension.
If you finish earlier than your teammates, help them get easier kills by damaging enemies to low health and have your teammate finish the enemies off. Remember that you will continue to be burdened even after ascension. Burdens are removed after all 4 players have ascended.
The following is each trial and what to do for each:
Zochoten’s Trial
The ascension shrine is found at the front left quadrant of the encounter area. Players attempting this trial will need to kill 8 enemies but will be unable to use their Ghost Weapon 1, Ghost Weapon 2, or Ranged weapons.
Best Classes for Zochoten’s trial: Assassin and Samurai
The Assassin and Samurai are best for this trial because their class ability and ultimate can help them get most, if not all of their kills.
Komokuten’s Trial
The ascension shrine is found at the back left quadrant of the encounter area. Players attempting this trial will need to kill 8 enemies but will be unable to dodge or roll.
Best Classes for Komokuten’s trial: Ronin or Assassin
Any class that specializes in non-melee damage tends to do better for this trial since they won’t have to rely on dodging or rolling.
Jikokuten’s Trial
The ascension shrine is found at the front right quadrant of the encounter area. Players attempting this trial will need to kill 8 enemies but will be unable to use their class ability or ultimate.
Best Classes for Jikokuten’s Trial: Ronin and Samurai
Ronins with the Enhanced Ghost Weapons perk and Spirit Kunai have the easiest time with this trial. Samurai or other classes with fire builds will be less affected by the burden from this trial.
Tamonten’s Trial
The ascension shrine is found at the back right quadrant of the encounter area. Players attempting this trial will need to kill 8 enemies but will be unable to use melee attacks nor block (L1).
Best Class for Tamonten’s Trial: Hunter
This should be called “The Hunter Trial” since it has almost no effect on the Hunter’s damage output. If there is no Hunter on the team, the next option will be the player who relies the least on melee.
Finishing All 4 Trials
Once players are all ascended, they will go up the stairs and make their way to the giant bell.